Finger Buugeng- Getting Started


Finger Buugeng are made to move. They have been engineered for strength and impact resistance, but they can still be damaged.
A quick note about care
Practise over a soft surface
If you’re learning a new move, we recommend practising over grass, carpet, a dance mat, or another soft surface. Repeated drops onto hard surfaces can damage the Finger Buugeng.
A little patience here can save you time and trouble later. Start low, get comfortable with the grip, and build up from there.
Let’s get your Finger Buugeng powered up, connected, and ready to flow.
1. Change the finger grip
Using the correct sized finger grip is essential for balance and control. The grip should gently slip over the first knuckle of your index finger, it should feel secure, but not tight.
Remove the faceplate screws
Use the included screwdriver to remove the three faceplate screws. Keep them somewhere safe while you work.
Remove the Bearing and grip
Remove the Bearing and grip together. Push firmly from underneath to release the grip.
Fit the replacement grip
Place the new grip and Bearing back into position. Push firmly from the top until everything is seated.
Check your work
Before you replacing the faceplate, check that no wires are pinched and the bearing and grip are correctly seated. You do not need to disconnect any wires for this procedure.
Reinstall the faceplate.
Secure with the 3 screws. DO NOT over tighten the screws, they only need to be finger tight.
2. Identify the controls
Before we switch anything on, take a moment to find the four parts you’ll use most often. They sit together in the control panel on the body of the Finger Buugeng.
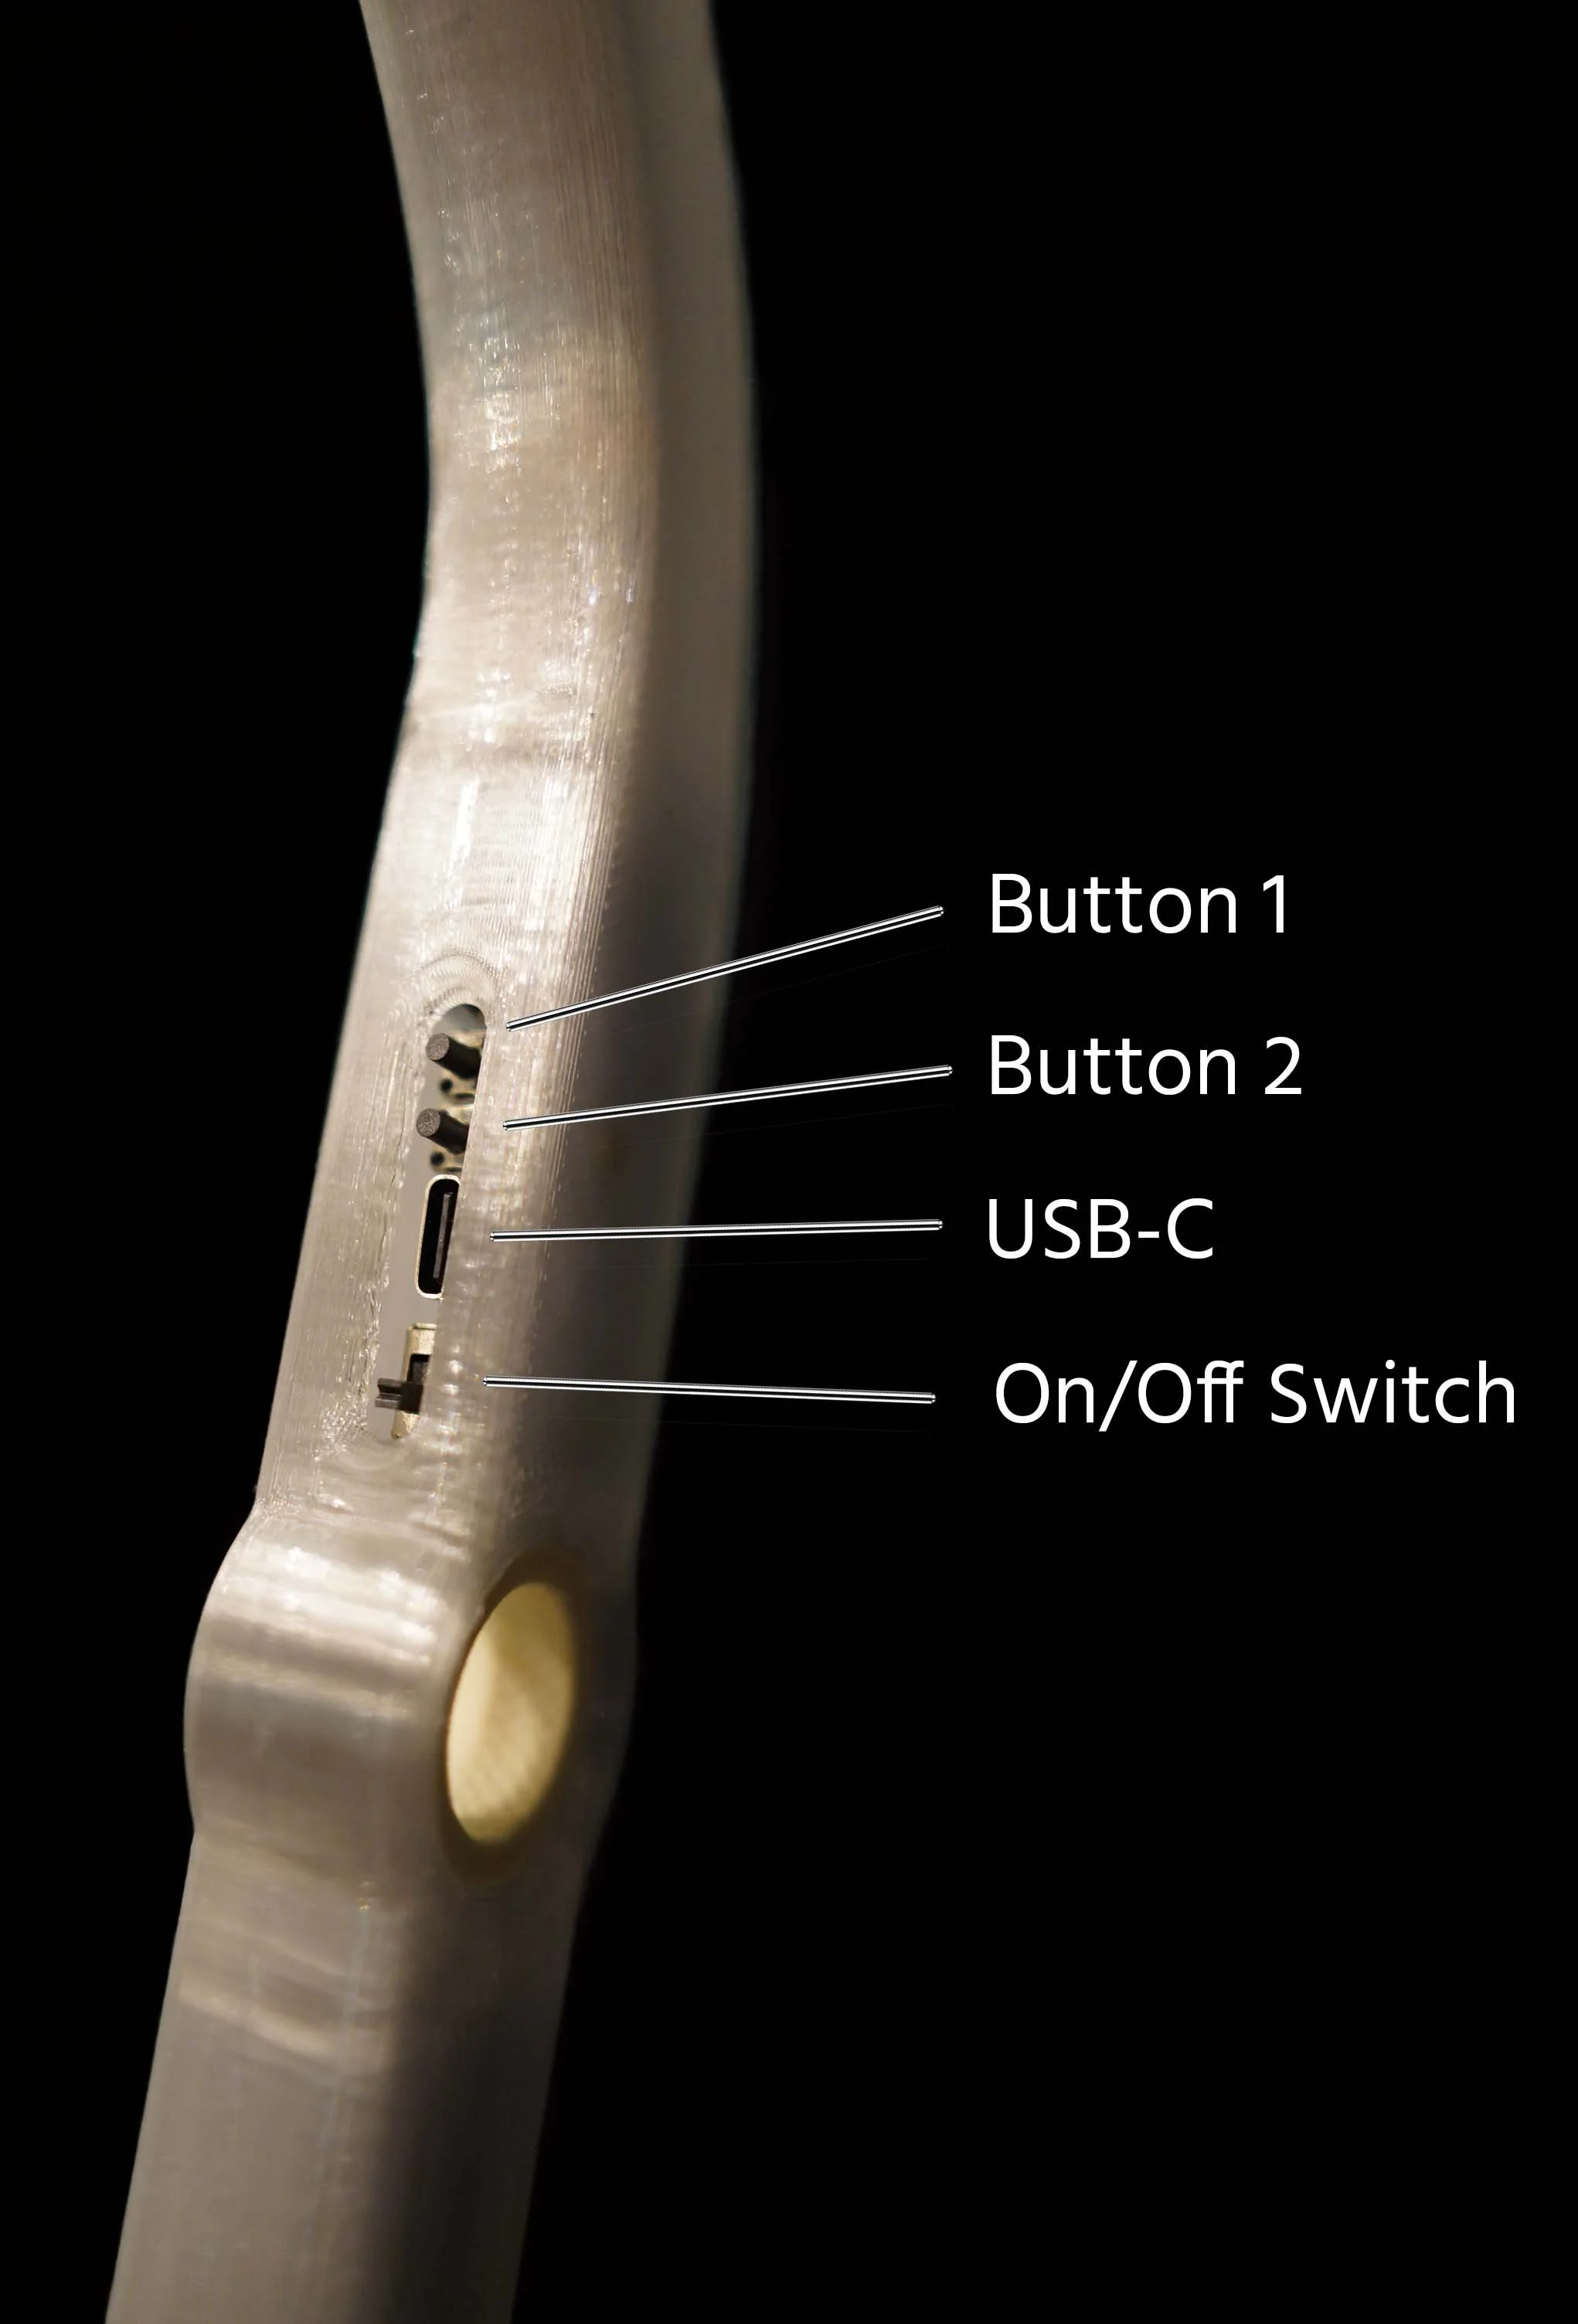
Button 1 and Button 2 are your quick controls for presets, brightness, and sync.
The USB-C port handles both charging and data.
The switch is the main power control.
3. Power and charging
Let’s start with the simple stuff. To charge, Plug the Finger Buugeng into a USB-C charger rated at 2.1 A or higher. A full charge takes about 4 hours.

Charging

Fully Charged
When you’re ready to use the Finger Buugeng, slide the power switch up. The Finger Buugeng will turn on and load Preset 1 - Fire. To switch it off, slide the switch back down.
Battery Life
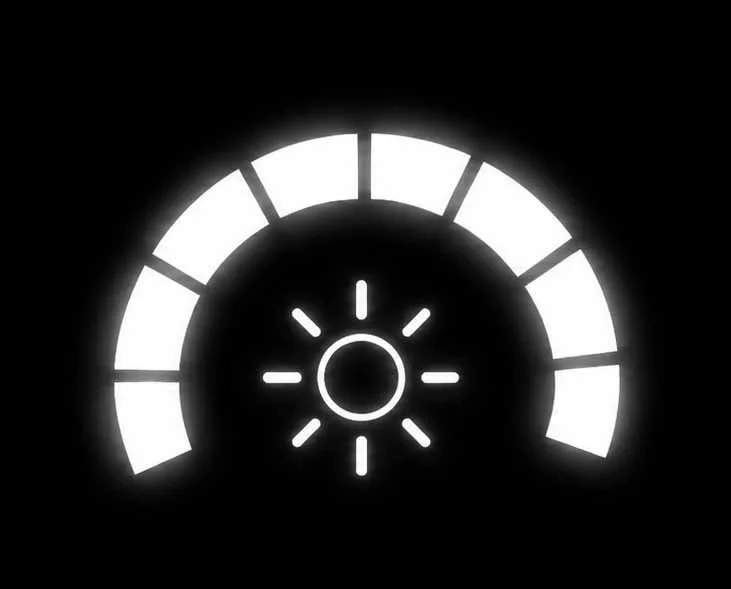
Full White 50 mins

Stage 3 Hours

Show 3 Hours 20 mins
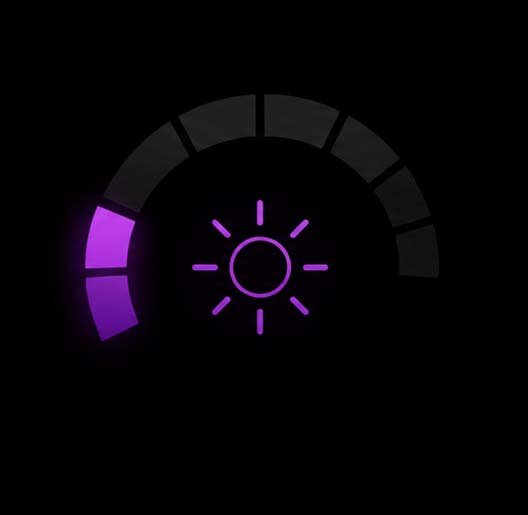
Party 4 Hours 20 mins
4. Button controls
Once the Finger Buugeng is on, the two buttons let you move through presets and change brightness without opening the WLED app. A long press is about 1 second. For a double press, quickly press the button twice.
| Button | Short Press | Long Press | Double Press |
|---|---|---|---|
| Button 1 | Preset Forward | Stage Brightness | Open for Customization |
| Button 2 | Preset Backward | Party Brightness | Toggle Sync |
All buttons can be fully customised to your preference in WLED . For a full list of Button Macros visit : https://kno.wled.ge/interfaces/json-api/
Pairs of Finger Buugengs are synced by default, so moving between presets on one, mirrors automatically on the other. Press Button 1 twice to toggle sync on the Finger Buugeng. This also allows you to run separate presets on each Finger Buugeng for interesting visual effects.
5. Presets and Brightness
Presets are the lighting effects you can move through with the buttons: colors, effects, and the way the LEDs move. Preset 1 is Fire. You can edit and create your own custom presets in WLED. For a full guide follow our : WLED and Control
Presets
To move between presets, single click button 1 to move forward , and button 2 to move backwards.
Brightness
By default there are 3 brightness settings : Stage, Show and Party.
Turn on the Finger Buugeng for "Show” brightness (Mid)
Hold Button 1 for "Stage” brightness (Full)
Hold Button 2 for “Party” brightness (Low)
6. Where to go next
This guide gets you comfortable with the basics. When you’re ready to explore more, the next guides will take you further.